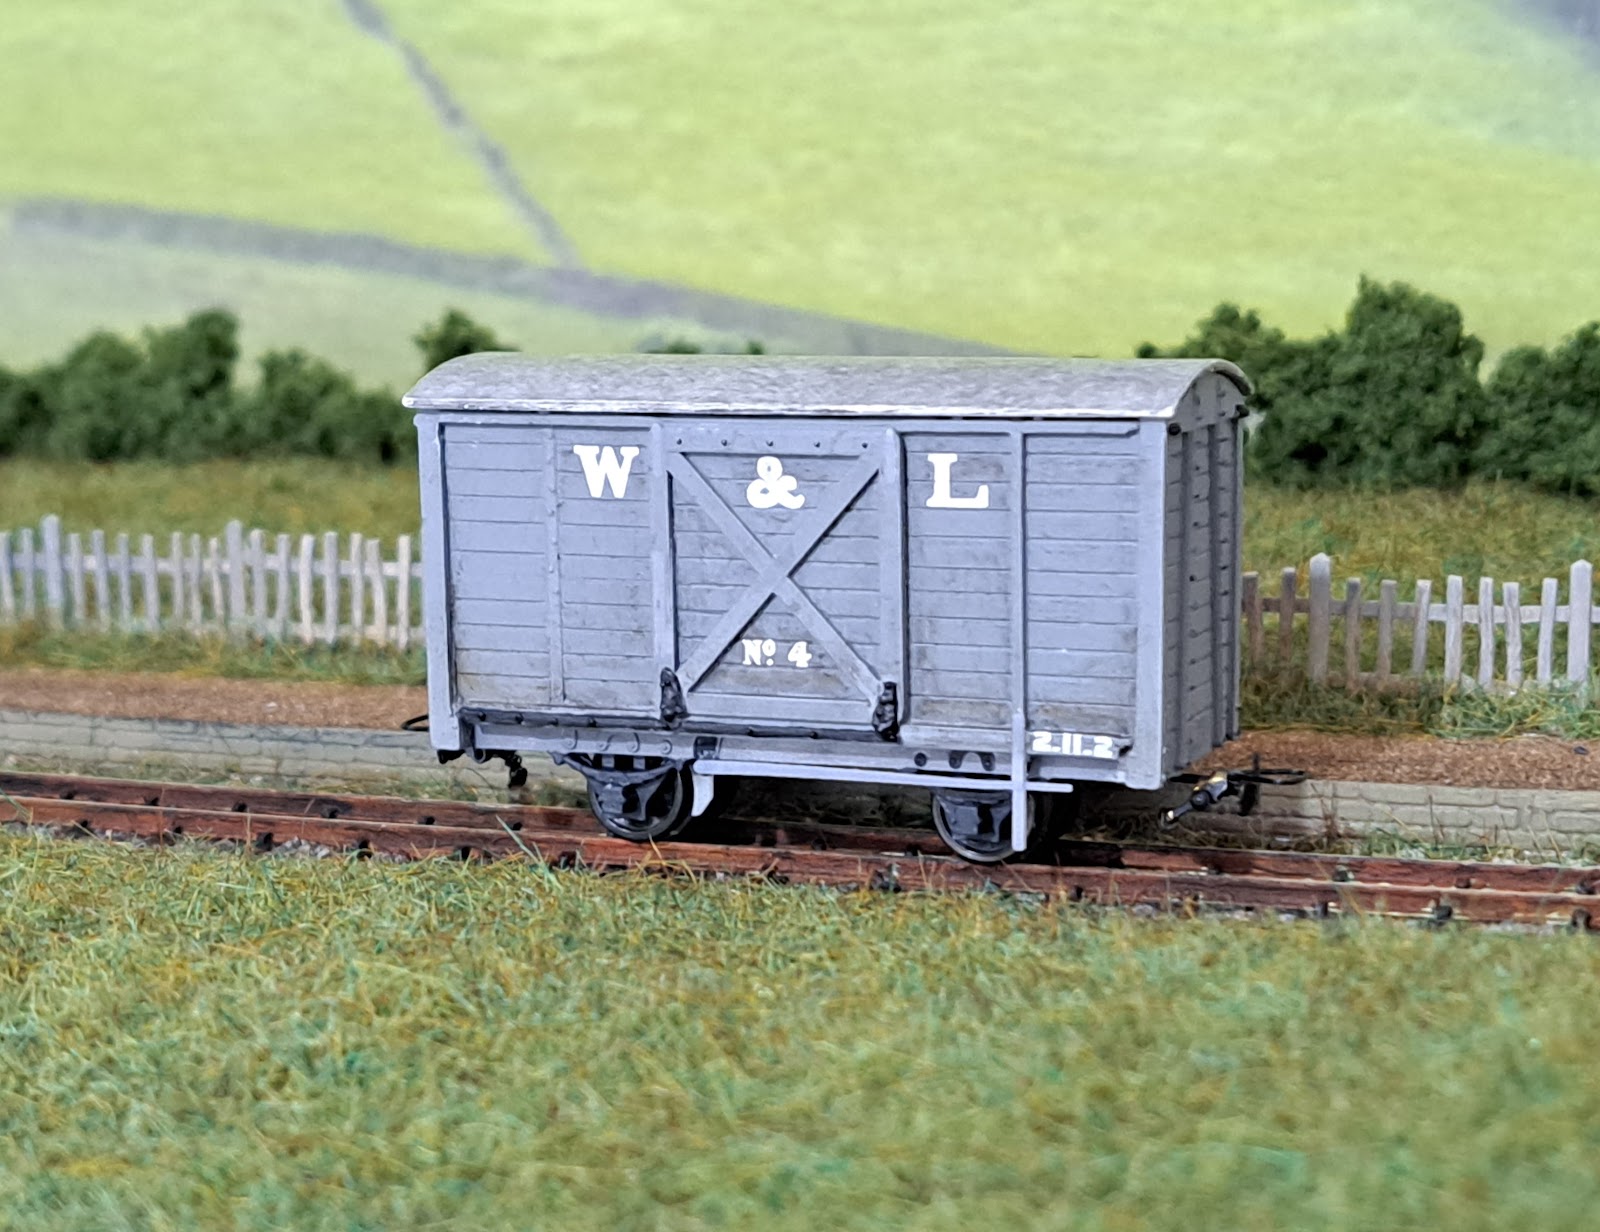
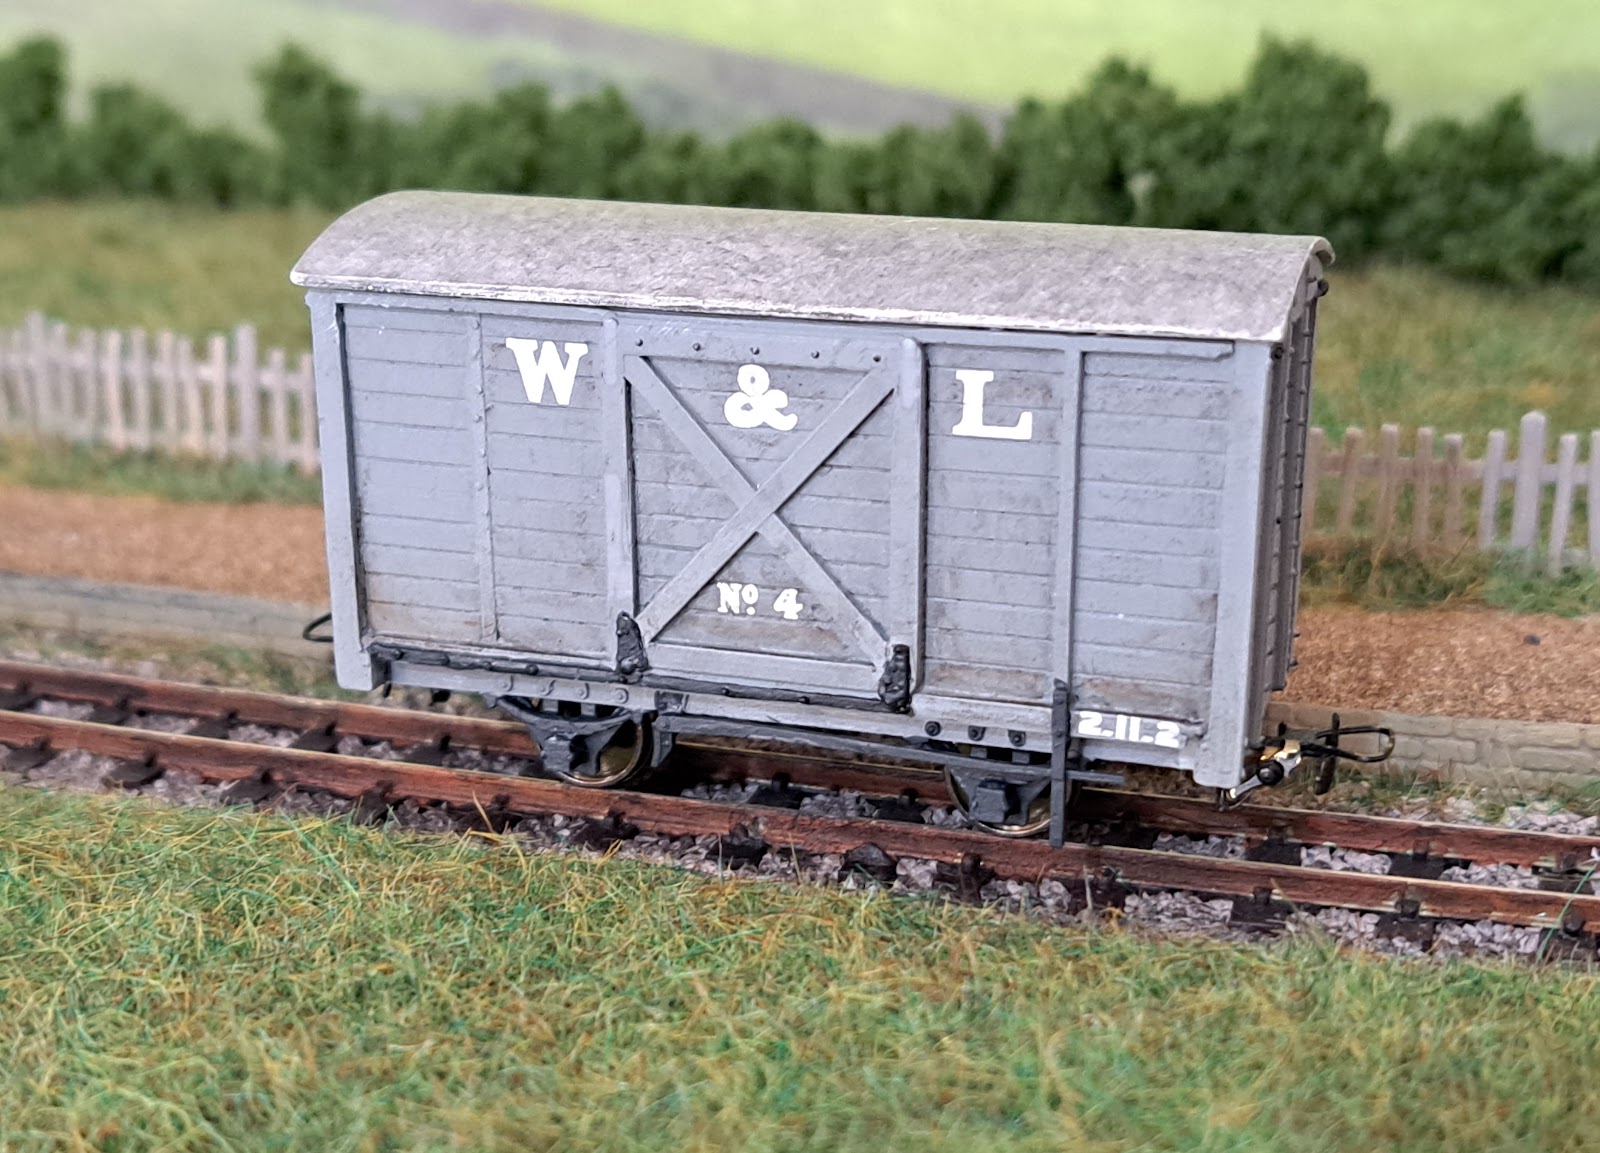
Personal modelling has taken a big hit recently with launching a new shop for STModels along with taking the trade stand to Narrow Gauge South. That was an excellent exhibition but being a trader by yourself means virtually no opportunity see round the show so I did a quick run round before the show opened. I was very taken with an Irish layout Fintonagh which has furthered my desire to build a CDR railcar. I think I have all the bits now so it is just a case of getting properly started!
At the show I was asked by a couple of people when am I going to complete the set of transporter cars for the Leek and Manifold Railway. You can already buy the Long Transporter wagon on the new shop here but the short transporters needed their designs finishing. The transporters have quite a history. The first being delivered in 1904, which was actually designed not only to be able to carry standard gauge wagons but to also carry horse drawn carts. History says they were never used for that purpose and were modified fairly quickly.
Then another variant came along in 1907 which was adaptable for two types of wagons, the difference being how low the brake gear hung underneath the wagon. Eventually one of the 1907 wagons was elongated to produce the long transporter wagon used for carrying the 6 wheel milk van.
Anyway, a little extra time at home has seen me largely finish the designs. Here they are, almost finished.

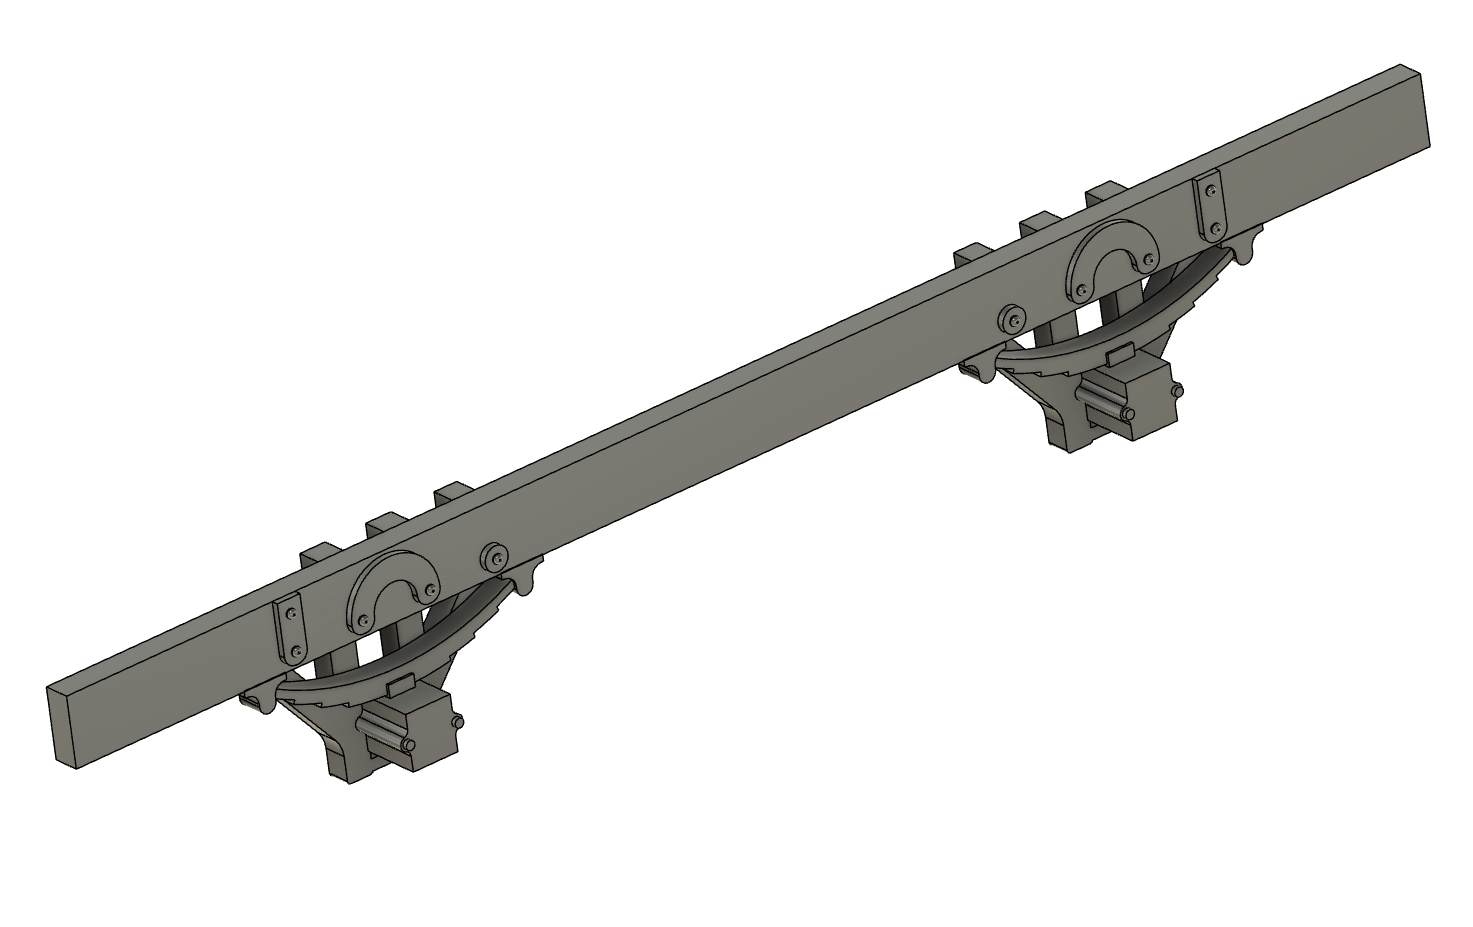
Front right is the 1904 version, front left is the 1907 version with the raised section for taller wagons and at the rear is the long transporter wagon.
The real problem is how to fit wheels beneath them. The wagon only takes a P4 wagon on top and, even then, there isn't enough space underneath to fit a bogie wheelset with outside frames. My friend Matt, for whom the original long transporter was designed, used N gauge pony truck wheels but you have to have a supply of them to make any progress with the wagons.
I therefore took the extra time I have currently and have taught myself how to design an etched brass bogie to go underneath. It's designed to hold the Mosskits 6.2mm diameter wheels. Even then I think it will need the pin points removing from the axles to get full movement.

It's not actual modelling for myself but it has been quite fun learning a new skill - watch this space!