When I was exhibiting Melin Dolrhyd at the Welshpool Gala this year, I was very taken with Martyn Harrison's Castle Caereinion - see the post http://going-loco.blogspot.com/2022/09/return-to-welshpool.html What I really liked was his code 40 track and how it gave a much more light railway feel to the layout. Peco crazy track is excellent for building reliable track quickly but there is no getting away from how chunky it is.
There were really two questions to solve:
- Would my stock run over it?
- Was it worth the effort?
To satisfy the first question I had to first obtain some track and also obtain some track gauges. I ordered some code 40 rail from the 2mm Association and some track gauges from FastTracks in the U.S. I already had some suitable sleeper material from the 3mm Society. Once I had all the parts I built a short test track on foamboard. I already had a similar test track with Peco crazy track and was able to compare the two.
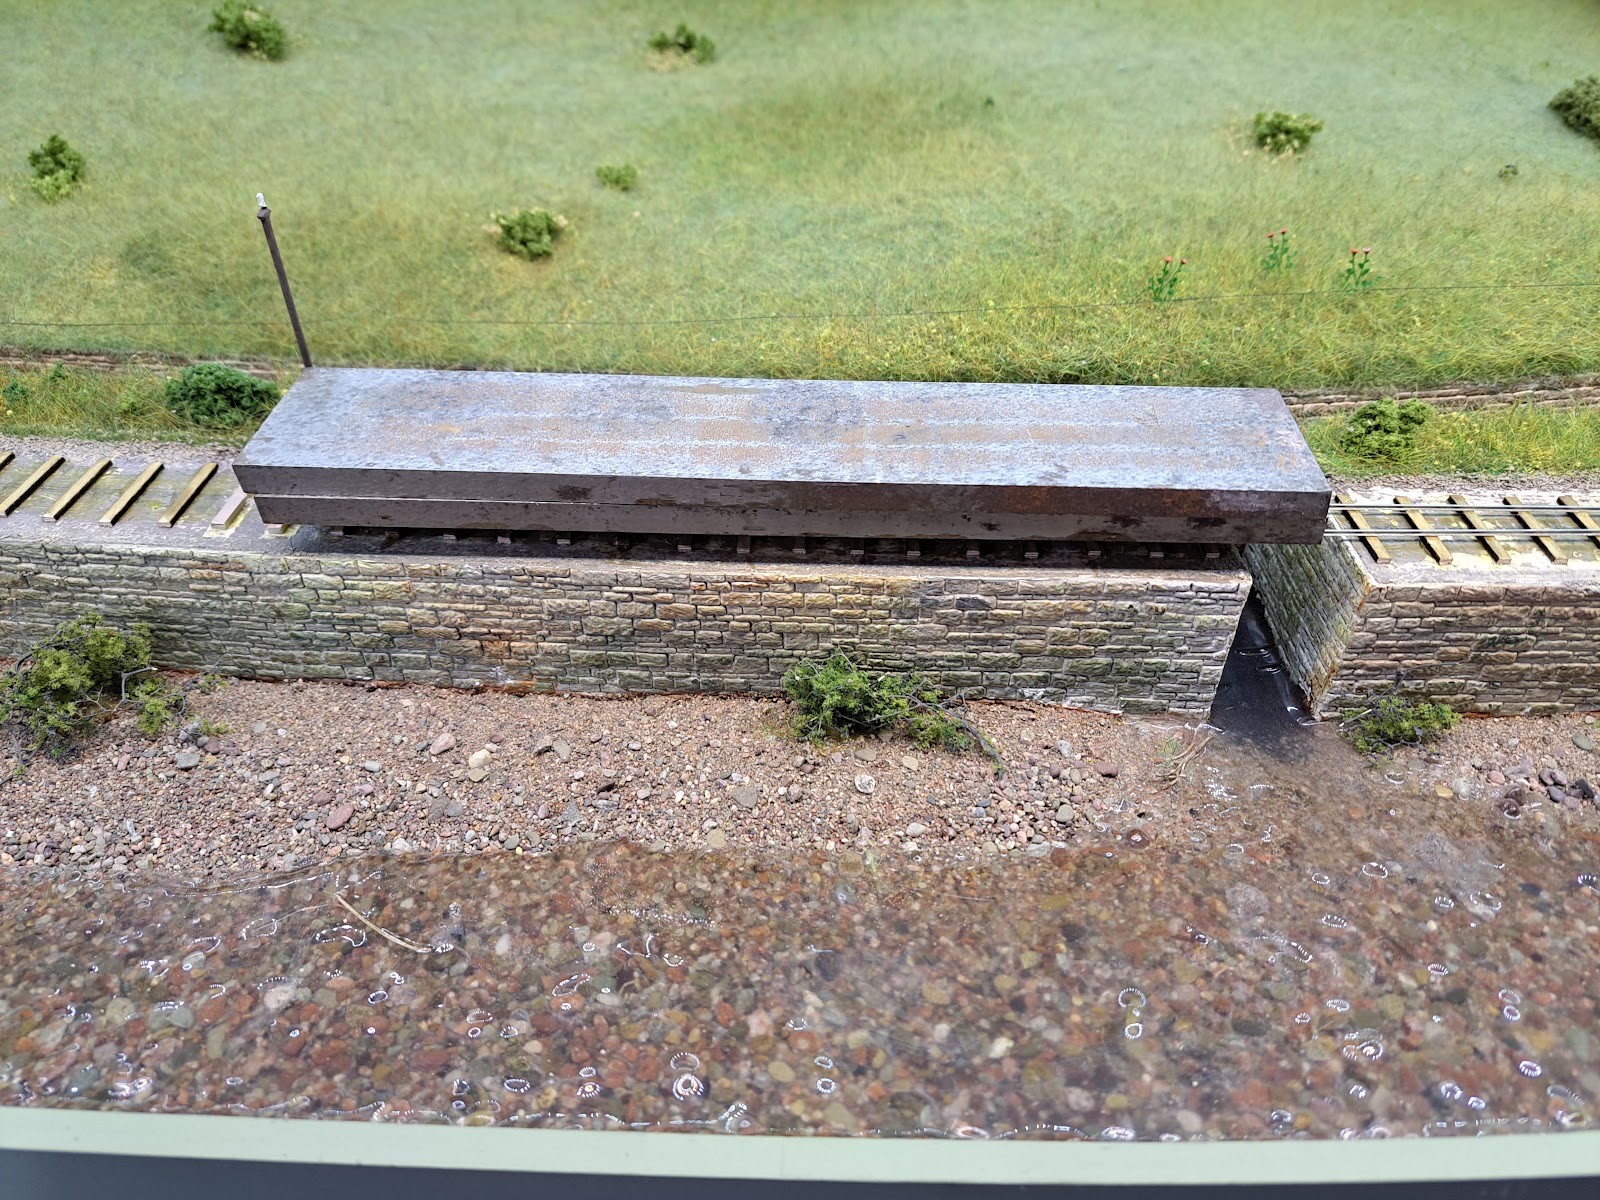
Peco on the left and scratchbuilt code 40 on the right. The difference between the two is huge! The track is simply stuck down to the wooden sleepers using impact adhesive. In real life the WLLR pinned the track down. There were no chairs. I was able to run all my stock along the track and none of them bounced on the sleepers, not even the oldest engine in the fleet.
That leaves the question of whether it is worth it. I came away from the Welshpool Gala energised by the show but dissatisfied with the operation of Melin Dolrhyd. The front of the layout was fine but the traverser was not as successful as I had expected. Much of this can be put down to having to make a 4ft traverser fit in a space which is just over 4' 3" long. There were packing pieces and packing pieces and the traverser never seemed to be level across all the tracks. Derailments were more frequent than they should have been for what is essentially a straight piece of track. The traverser is an excellent piece of kit but is overkill on Melin Dolrhyd and suffers from the curse of being a modification to an original design which didn't plan for it.
Taking on board my dissatisfaction with the running I decided it was worth the effort of replacing the track on the front along with replacing the traverser on the back. I'll cover the rear of the layout in another post.
Once the decision was made, I ordered some 1m lengths of track from C&L Finescale along with some roller gauge and they arrived on Friday. I popped across to the 3mm Society West Byfleet meeting on Saturday to pick up some deeper sleeper material which meant I had all the materials necessary to start, so start I did.
The ballast had been stuck down with the usual pva mix and the track itself was originally stuck down with impact adhesive. I used a dropper to wet the track and then worked away at the ballast with the screwdriver I use for almost every task where I don't use a scalpel. The track itself lifted relatively easily. The track bed is foamboard so I was worried that the card cover would soak and tear off, but it has stayed so far.
In fact it all came off quite easily with the exception of one of the baseboard joins where the card did tear off. In the next post I'll cover preparing it all and laying the track.