Warning - cruel photography alert!
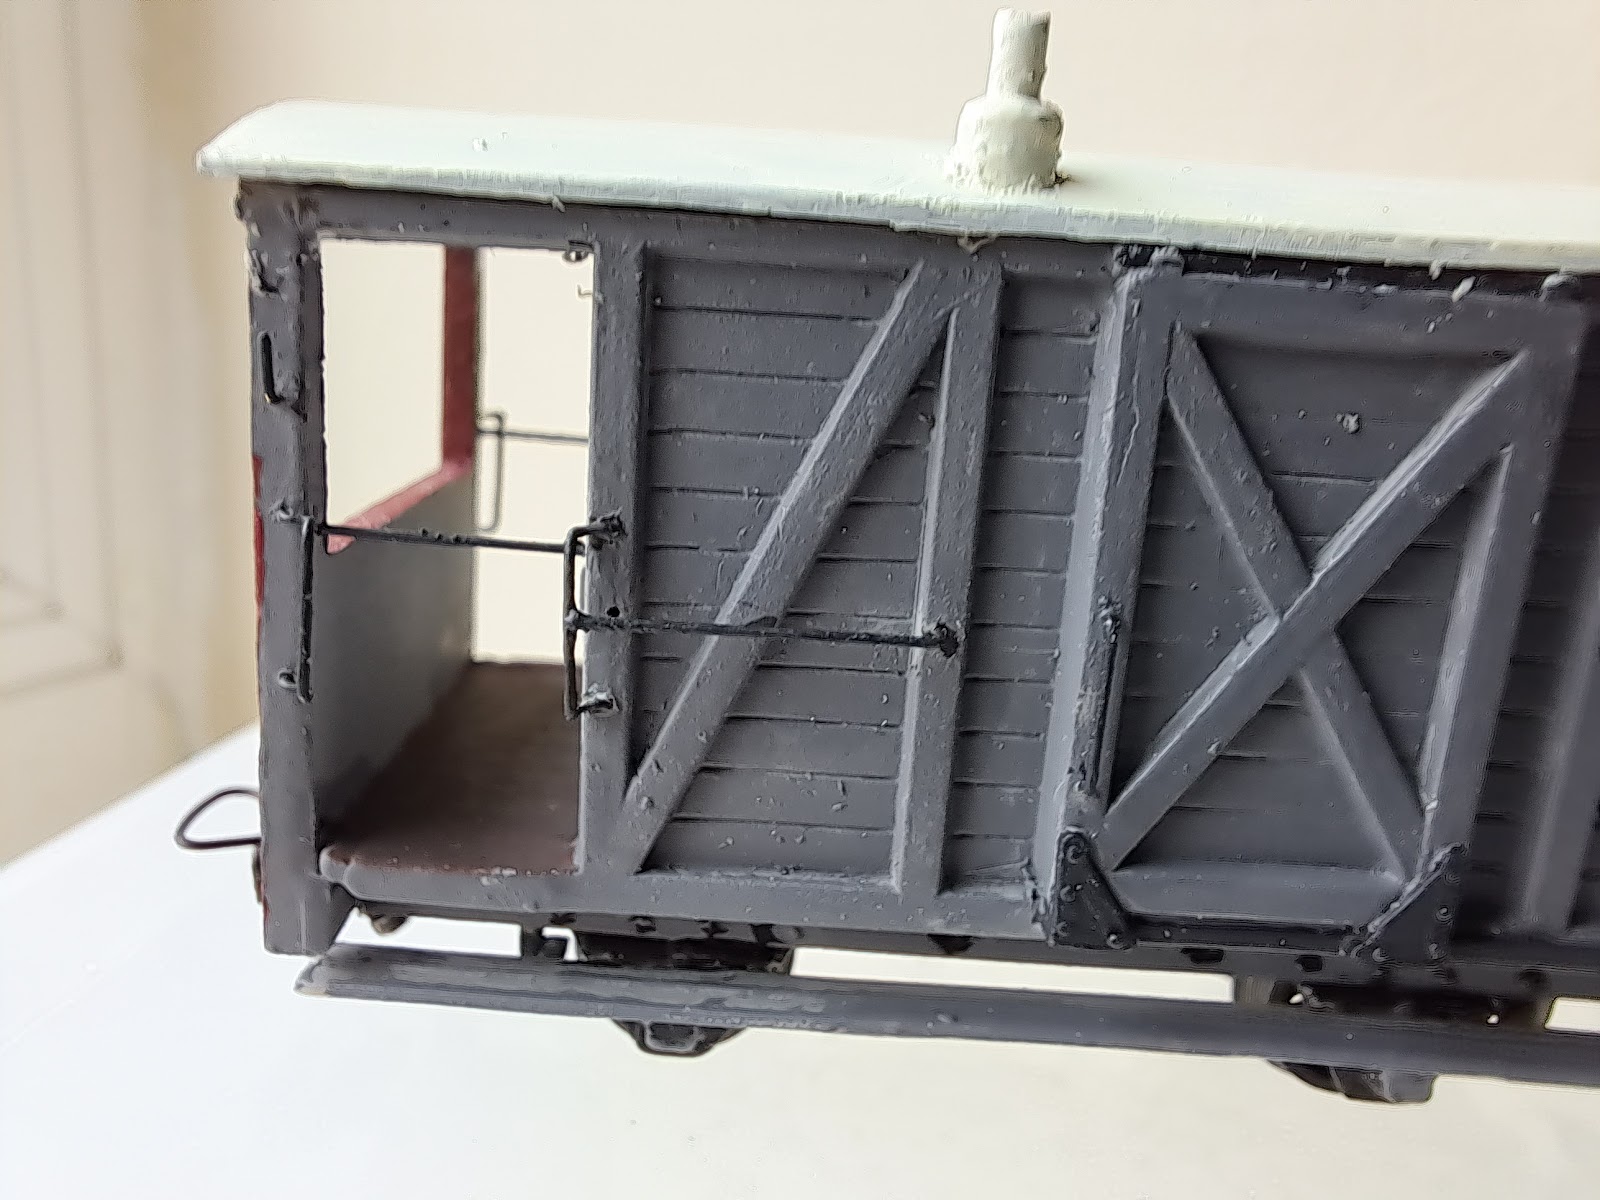
Conventional wisdom is to use brass rod of around 0.33mm diameter so this is what I did. The handrails on the brake van are an interesting shape. In real life they screw onto the side of the van facing into the opening and then turn outwards to make it easier for the guard to grab them. On the model the only way to fix handrails onto the model is to actually glue them into holes in the model. This makes for another bend in the handrail.

The picture above shows the handrails quite cleanly. It took me several goes with the finest snipe nosed pliers to get the bends close enough to each other.
A search of the internet highlight that 0.3mm rod is available but then the next thickness is 0.2mm. That is small but also offered a challenge. I bought some 0.2mm rod in both nickel silver and brass. I also bought some Tamiya 0.2mm drills. I figured buying just one drill was asking for trouble - they are so small.
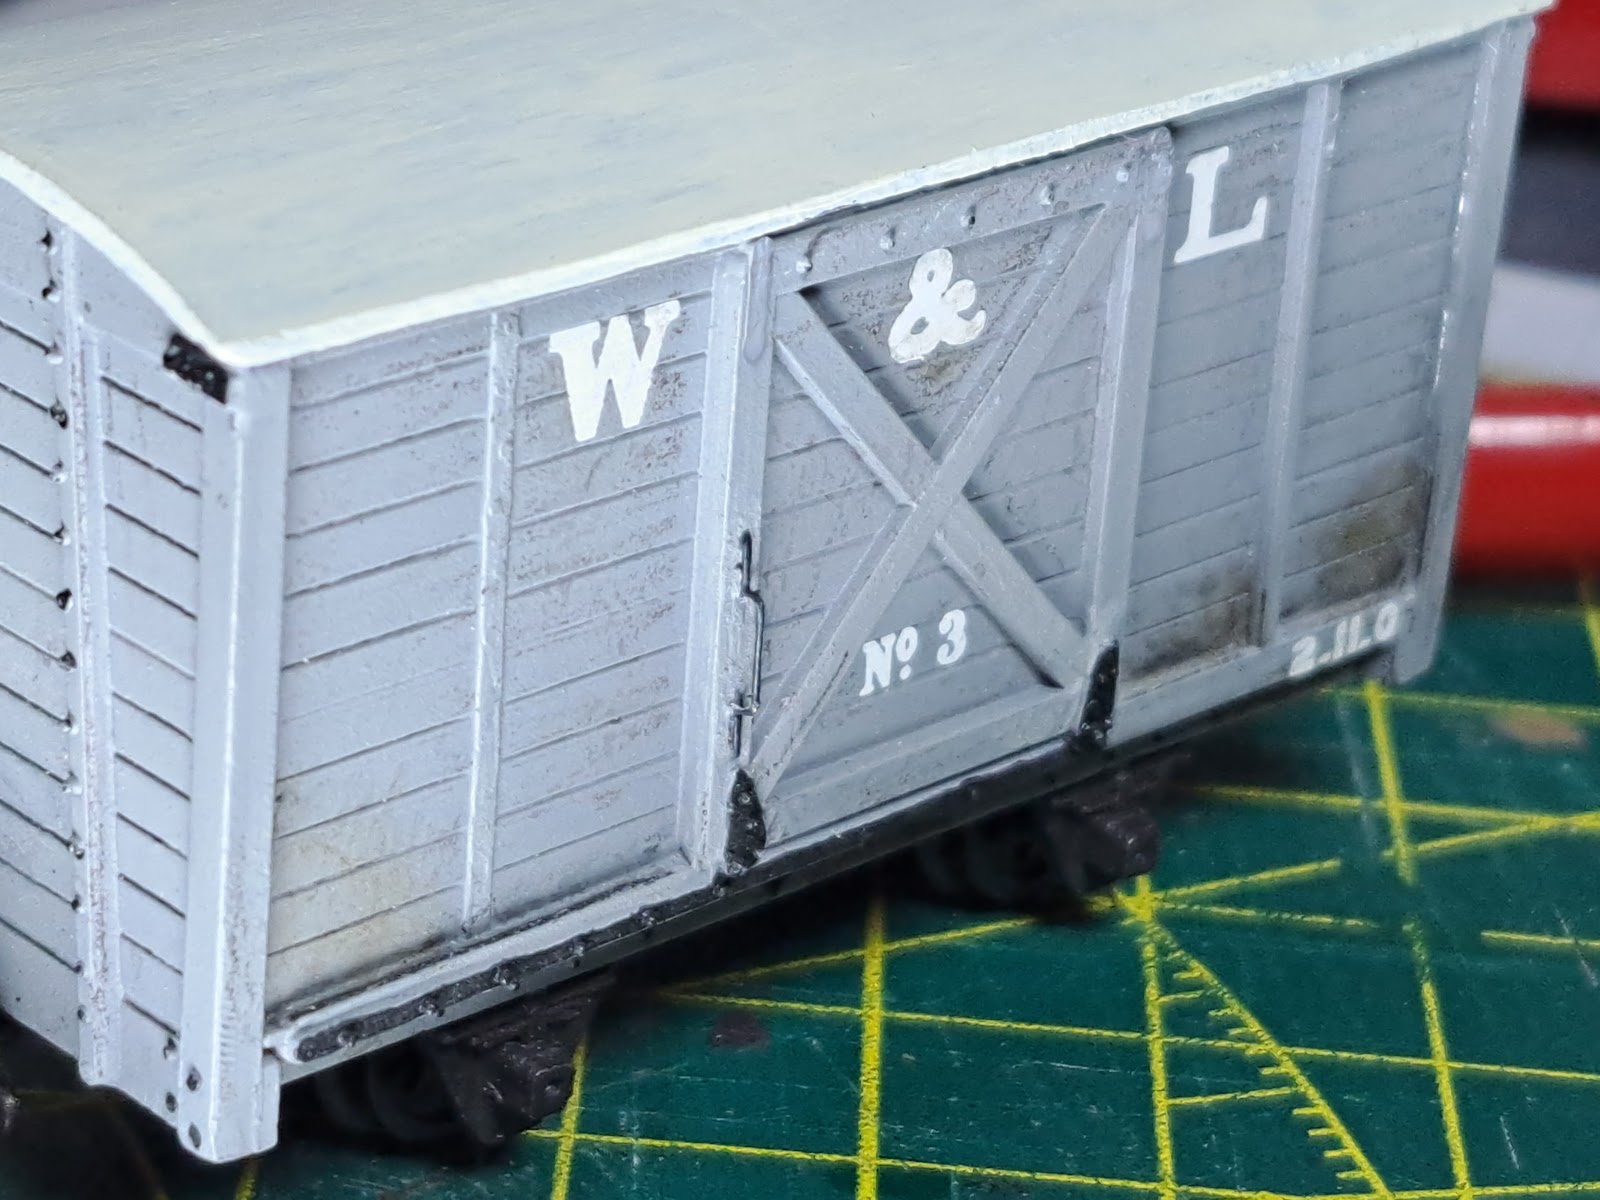
In real life, the handle of the covered van appears to be thinner than the brake van handles so I tackled that first. The handle is glued into two holes that were drilled and a small piece of flattened wire was glued on top and bottom to simulate the original fitting.
This is so much finer and I really like it. I used the nickel silver wire just to have some more strength to cope with handling. The question then arose on how best to represent the brake van opening rail. The real thing is fundamentally a hook and eye, but could it be done in 4mm.
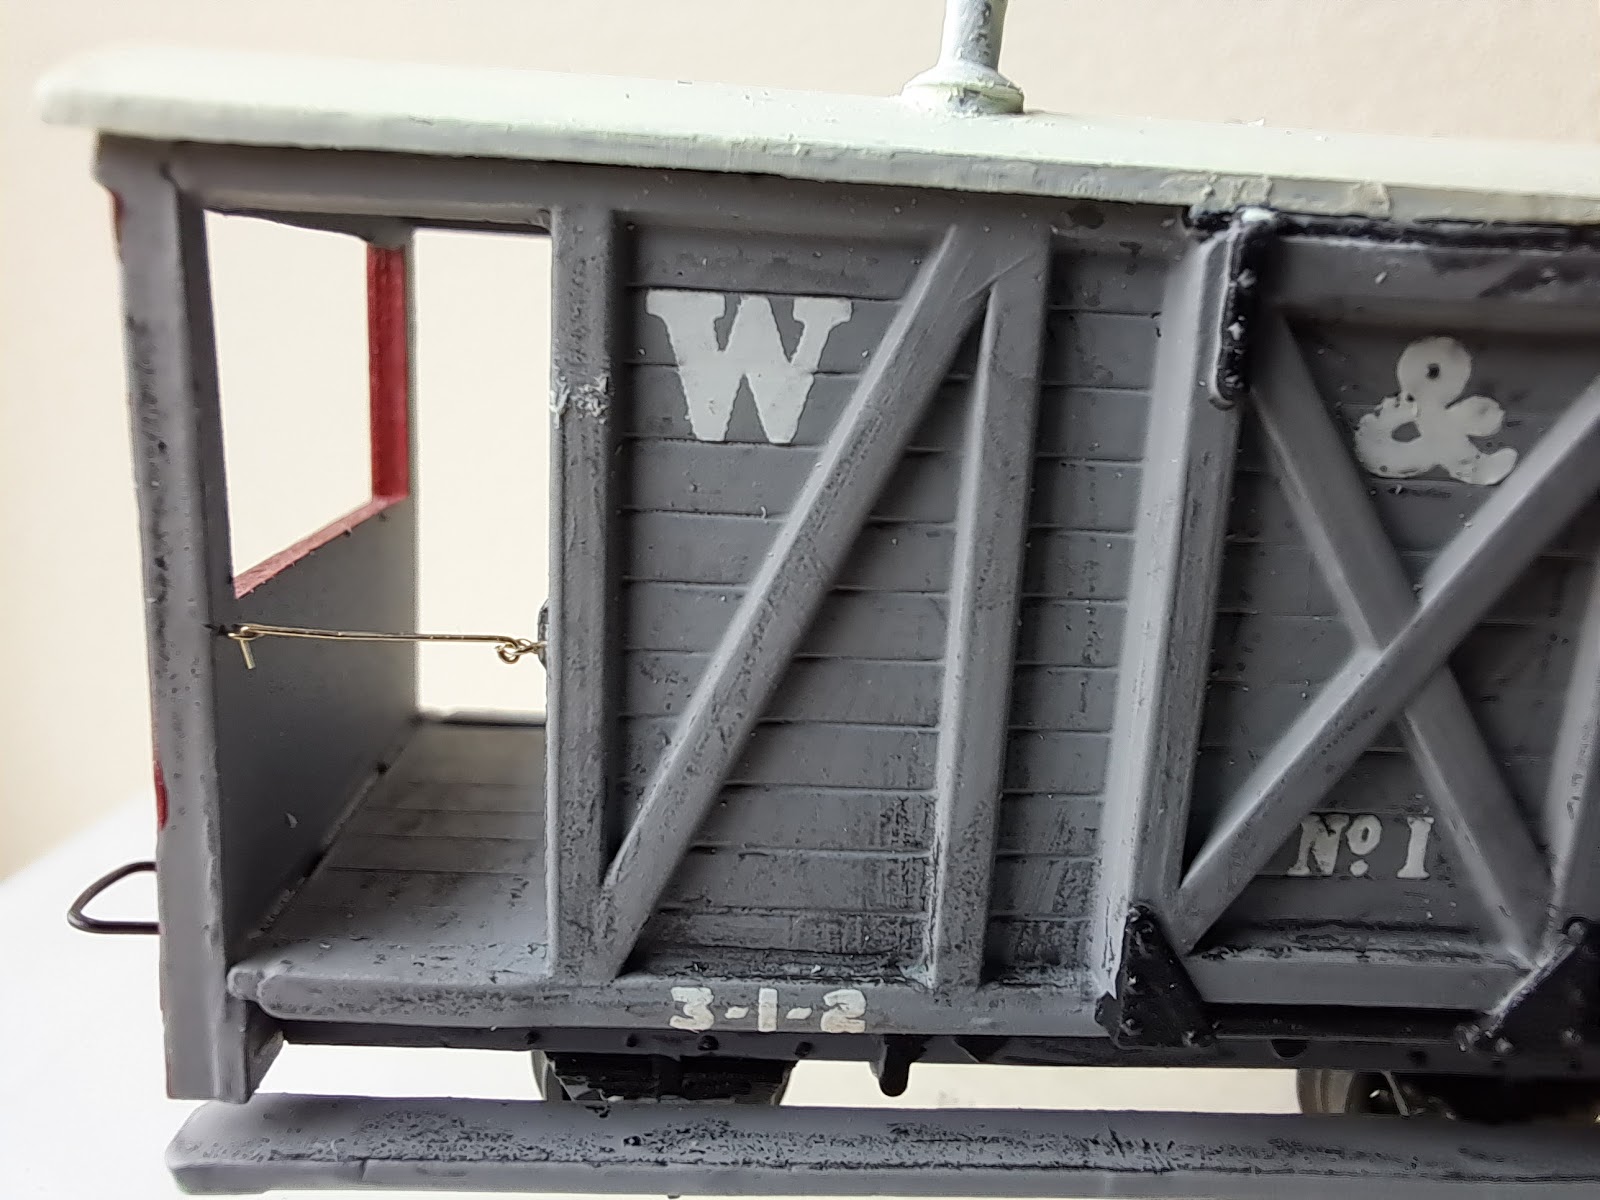
The answer is "Yes". I had to wrap the wire round another piece of wire to create the loop and then had to drill the wagon at an angle but that doesn't show. At this point I broke one of the drills so I only managed 3 holes per drill which, at £6 a drill makes the holes very costly.
A decision still needs to be made on what to do. I haven't found any 0.25mm wire rod yet so options are:
- Revert to 0.33mm and accept they must be over scale
- Try 0.3mm and maybe just use black primer to reduce the number of coats of paint
- Carry on with 0.2mm and take the hit on drills
- Consider using Metal Black instead of paint
I'm undecided, but if this was Facebook I would do a poll 😃


Found my way here from NG-online there you commented on my thread about Fusion 360. Your van looks great !! Will subscribe to your blog. /Henrik
ReplyDelete