Time for a more normal post about building models rather than computer gizmos!
Currently I have a batch of Welshpool & Llanfair Light Railway (WLLR) wagons in various states. Some were kits I built but hadn't finished. Others were found on the 009 Society second hand stall. The one thing they have in common is that they are unfinished. It's par for the course for me but they need to get done. I've commissioned a complete set of WLLR wagon transfers from Custom Model Decals. When I say complete, I mean only the ones from the Cambrian era and none of that Great Western stuff!
Unfortunately, in looking at these wagons it made me go and look at the ones I had finished and I knew I could do better. When I built the original wagons I did so with speed so that I could have something to run and get a feeling of achievement. Looking at them now there were some obvious things to fix. The first was the plastic handrails (well actually plastic blobs where handrails should be) and the second was the roofs.
Roofs are interesting in that how you model them depends on your view of weathering. Are you a person who models when rolling stock was new and in pristine condition, at the other end of life when all was dilapidated and worn out, or somewhere in-between. For a long time I have modelled in the pristine condition but I have been experimenting with light weathering.
Most of my wagons have been weathered using AK Weathering Pencils. These are useful items, allowing you to crayon on the weathering and, if you get it wrong, just wipe it off with a damp finger. They are okay for using on roofs but not ideal and nothing I tried was particularly realistic.
 |
| Photo courtesy of Brian Webber/ Welshpool & Llanfair Light Railway |
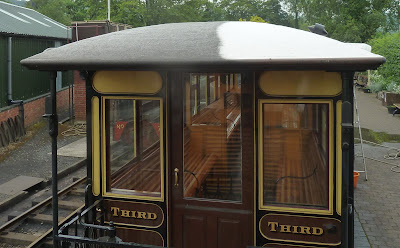
Recently I came across the above picture from The Llanfair Railway Journal. It shows one of the Pickering coaches part way through a deep clean. For some reason the original owners of the WLLR decided to paint the roofs of their stock white. It makes no sense really. Railways were dirty environments but maybe there was some reason I am not aware of.
Needless to say, roofs get dirty. All they do is sit outside in all weathers or are pulled behind locomotives that belch out soot and smoke. That has to land somewhere and usually it is on the roofs of vehicles behind. This is only one small view, and I wonder what the rest of the roof was like, but it is interesting to see how uniform is the greyness.
The question is then how best to recreate this in model form. I've had a few different attempts but the following is the technique that seems to be simplest for me to do and produces a reasonable result.
A brief aside is that for many years all my models were painted using spray cans from Halfords or Humbrol acrylics. I've a few paints from other manufacturers like Games Workshop but have always fallen back on good old Humbrol. Recently, I had cause to try some Vallejo paints after watching someone get very good results with them. I have to say I was hooked. The texture of the paints is excellent. Vallejo paints seem to be creamier and hold the paint particles in suspension better than Humbrol. The two paints used on the roofs are, therefore, Vallejo.
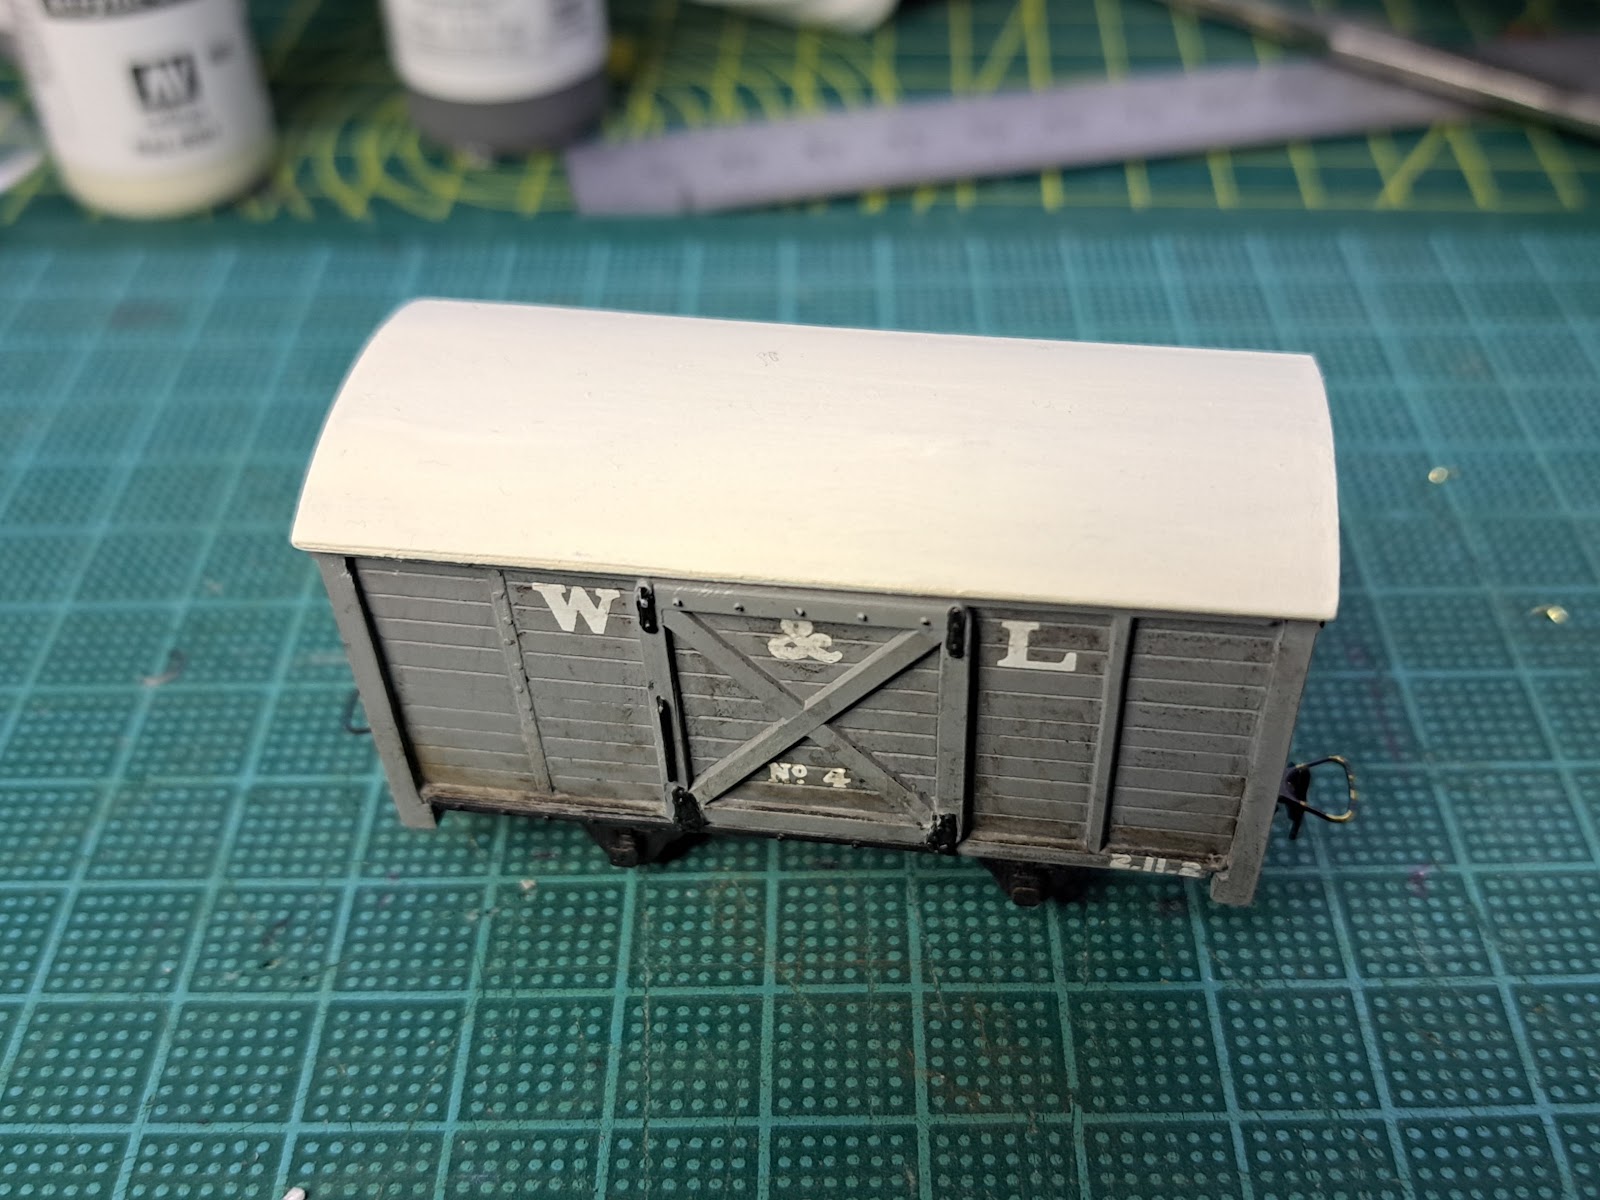

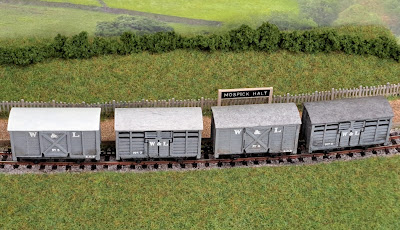
Here are four WLLR wagons. From left to right they are
- Plain roof in Ivory
- After 1 wash
- After 2 washes
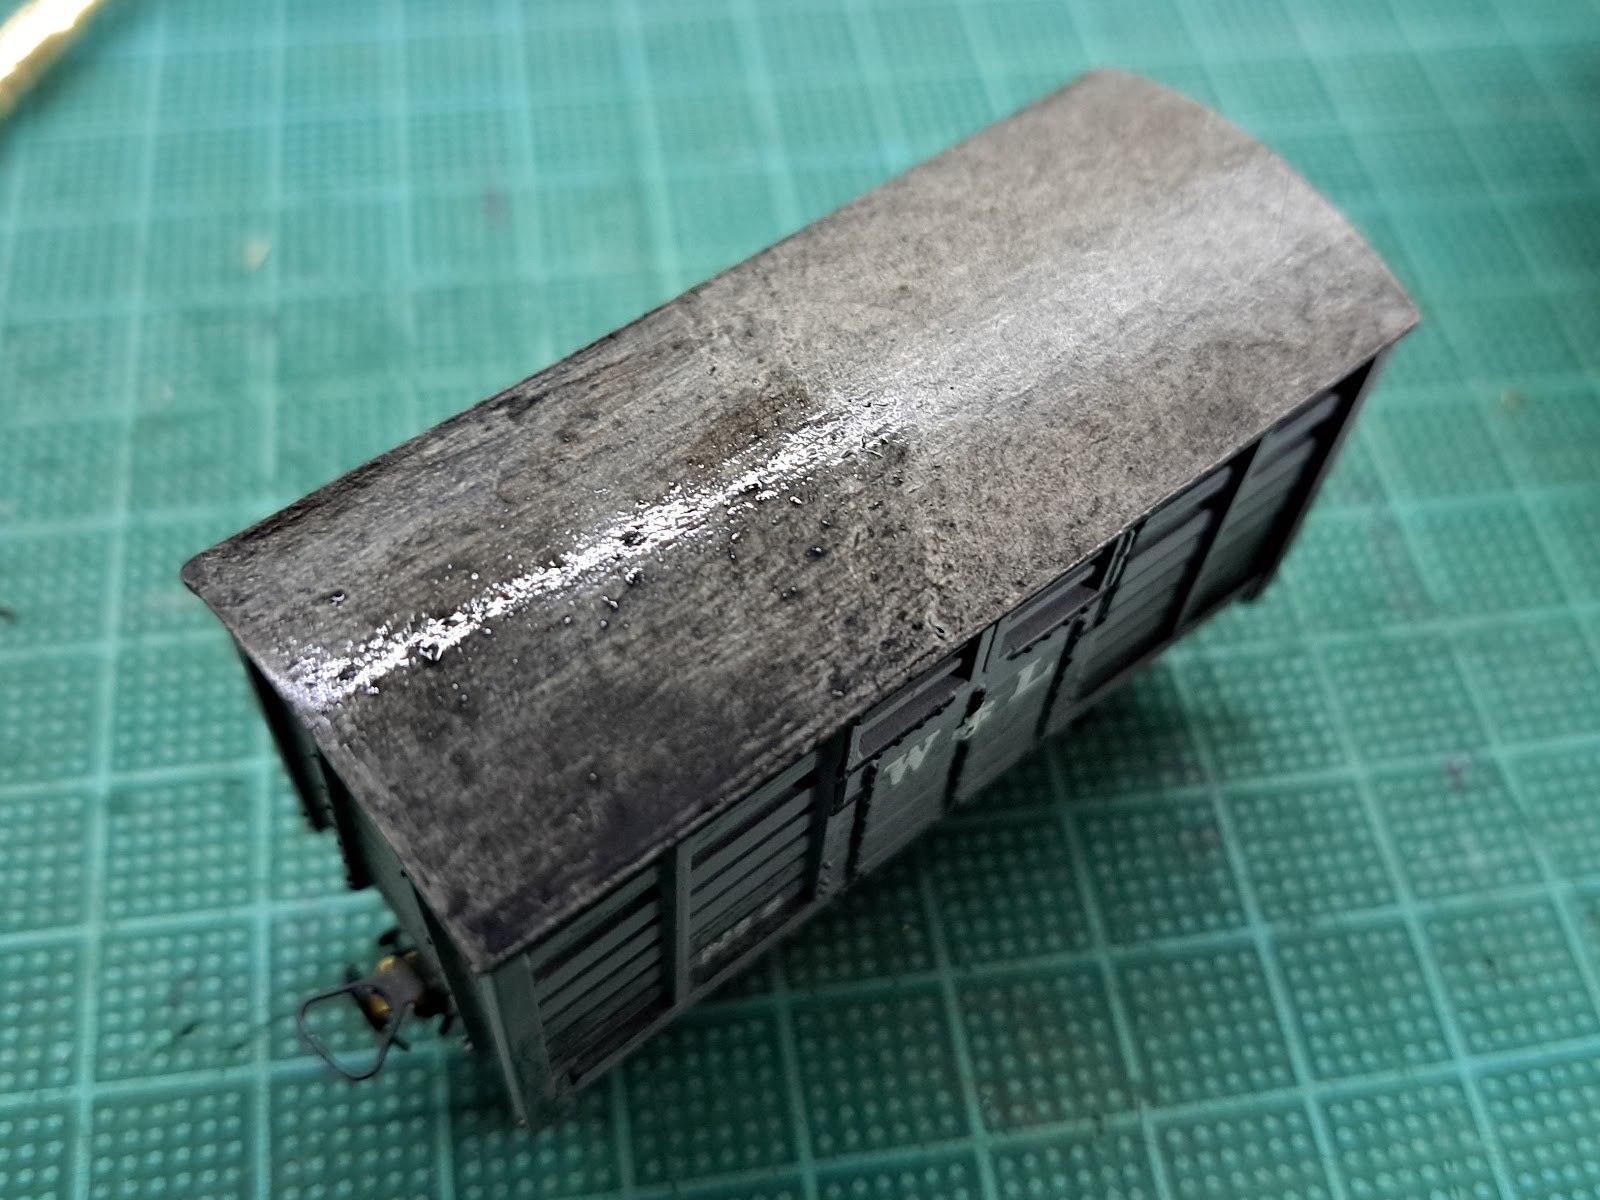
- After 3 washes
It's likely that on faster lines the weathering would have a streaky feel to it but on a slow backwater like the WLLR I suspect it will be more from the soot falling onto the roofs so the dabbing technique works well. At this point I could take the weathering pencils to the roof and create some more effects but this will do me for now.
I haven't made my mind up how much weathering I want on my wagons. I usually say to people that Melin Dolrhyd is set around 1912. This was a sweet spot in the history of the line when the coaches were plain green and they had converted some of the open wagons to sheep wagons. Recently, I have been looking at the three etched coach kits and thinking it is time to build these in the earlier bronze and white livery which would potentially mean lighter weathering. On reflection, that is overthinking it. I will simply pick which colour I find most pleasing!


No comments:
Post a Comment